In this tutorial you will learn the basics of ASP.NET and how to use databases and work with DI. This will allow you to write a simple ASP.NET site that you will then run. The program will be a visual studio application
About this Tutorial
Objectives
Delegates will learn to develop web applications using MVC. After completing this course, delegates will be able to:
Use Visual Studio 2012 effectively
Create commercial ASP.NET Web Applications
Develop user interfaces using Master Pages, Site Navigation and Themes
Audience
This course has been designed primarily for programmers new to the .Net development platform. Delegates experience solely in Windows application development or earlier versions of ASP.Net will also find the content beneficial.
Prerequisites
No previous experience in ASP.NET programming is required. But any experience you do have in programming will help. Also no experience in visual studio is required. But again any experience you do have with programming development environments will be a valuable.
Experience using a contemporary OO language such as C++ or C# would be useful but is not required.
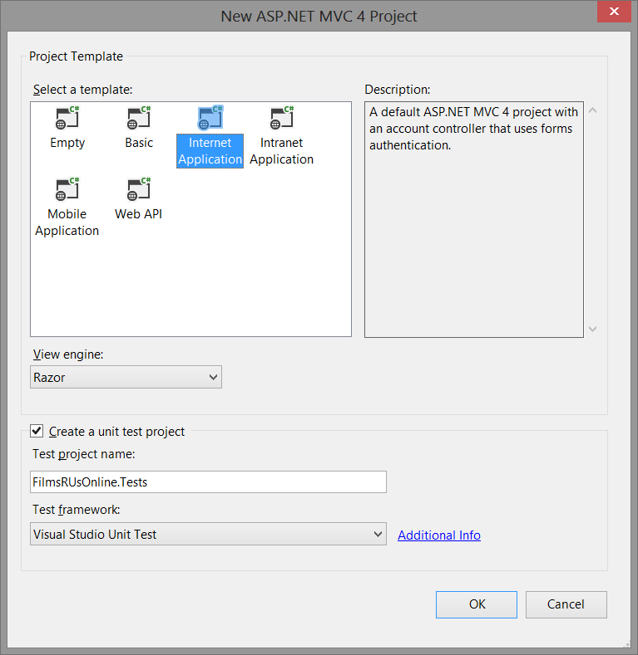
Create the ASP.NET MVC 4 web application named FilmsRUsOnline using C#. Make sure to choose Internet Application and use the Razor engine. Also create a unit test project and name this FilmsRUsOnline.Tests.
Add a C# class library project to the solution; this is done by right clicking the solution, select Add, then New Project, and under Visual C# choose class library and name this Domain; You can then delete the file Class1.cs.
Lab 2: Defining a Domain Model
Lab 2: Defining a Domain Model
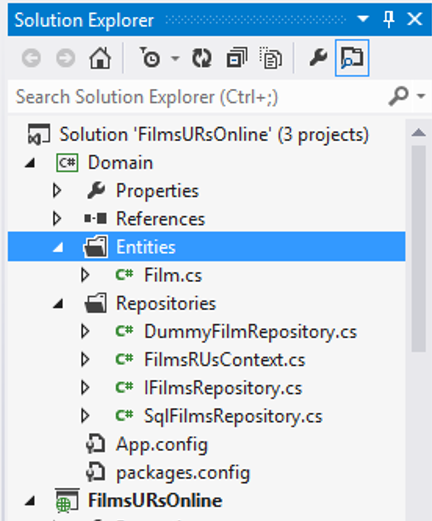
In a large-scale application, the real business logic will probably reside in external class libraries, so we create two folders in Domain one called Entities and the other called Repositories. Make sure both folders are in our Domain project.
To create the folders right click on Domain and choose Add>New Folder and rename them as above.
In the Entities folder add a new class by right clicking on Entities, selecting Add>Class and name this Film.
Now the class has been created; we need an entityclass to represent information about a film and this must be public, so as to be accessed by other assemblies. namespace Domain.Entities
{
public class Film
{
public int FilmID { get; set; }
public string Title { get; set; }
public string Blurb { get; set; }
public string Genre { get; set; }
public decimal RentalPrice { get; set; }
}
}
In a typical application, domain entities are persisted to a data source e.g. a database. It’s good practice to define separate “repository” classes to manage this persistence. It’s also good practice to define an interface for the repository e.g. for talking to a database or a fixed data set.
Here is the Film Repository called IFilmsRepository. using Domain.Entities;
namespace Domain.Repositories
{
public interface IFilmsRepository
{
IList Films { get; }
}
}
Here is a dummy repository to use, it allows you to start testing straight away. Its called DummyFilmsRepository. If you look in the code you will notice that the class is implementing the interfaceIFilmsRepository; this contains its own private variables and the properties to expose a list of films. using Domain.Entities;
namespace Domain.Repositories
{
public class DummyFilmsRepository : IFilmsRepository
{
// Dummy (hard-coded) list of films.
private static IList dummyFilms = new List {
new Film { Title="Airplane", Blurb="Classic spoof airline disaster movie",
Genre="Comedy", RentalPrice=1.50m },
new Film { Title="Jaws", Blurb="Shark-fest film that spooked a generation",
Genre="Thriller", RentalPrice=1.99m },
new Film { Title="Love Actually", Blurb="Feel-good family entertainment",
Genre="RomCom", RentalPrice=2.99m },
};
// Returns dummy (hard-coded) list of films.
public IList Films
{
get { return dummyFilms; }
}
}
}
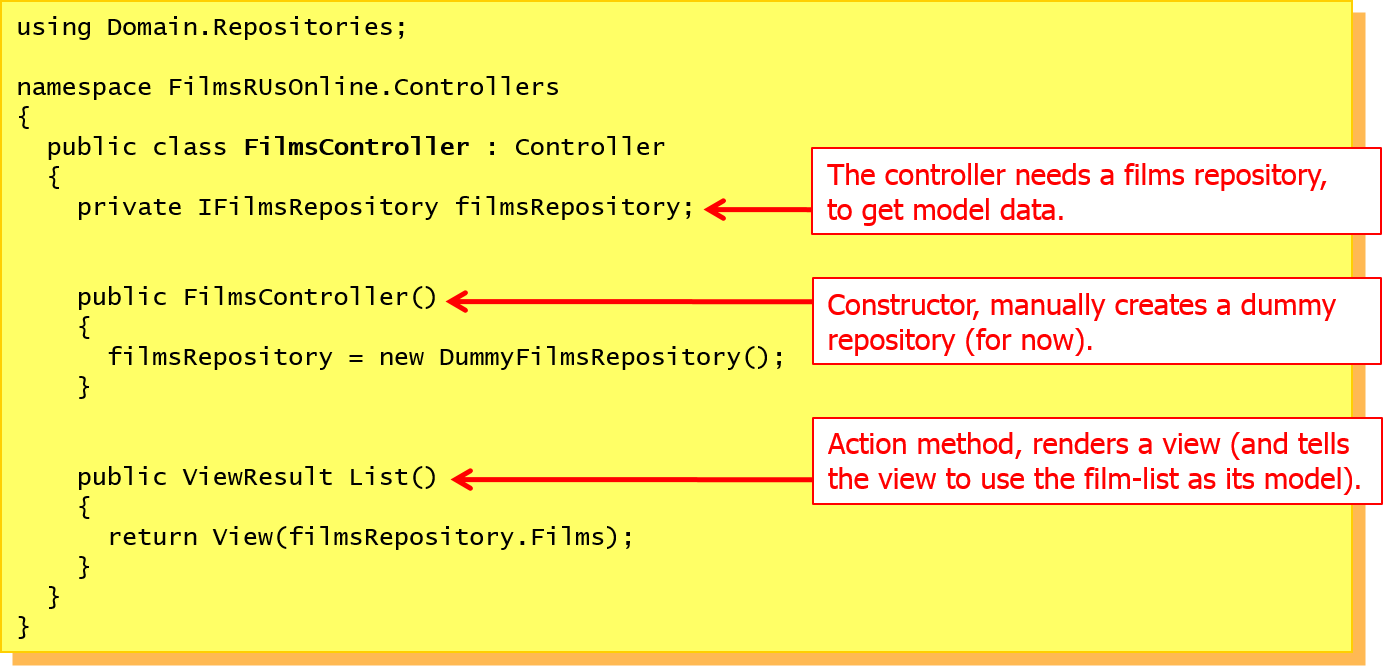
Add a controller class named FilmController to the Controllers folder. To do this right-click in Solution Explorer and select Add>Controller from the context menu.
Include a reference to the Domain by right clicking on the project FilmsRUsOnline and selecting Add Reference>Solution and then by checking Domain. using Domain.Repositories;
namespace FilmsRUsOnline.Controllers
{
public class FilmsController : Controller
{
private IFilmsRepository filmsRepository;
public FilmsController()
{
filmsRepository = new DummyFilmsRepository();
}
public ViewResult List()
{
return View(filmsRepository.Films);
}
}
}
When the application starts it needs to run the the appropriate action method. For this, under App_Start in the Solution Explorer, ensure that RouteConfig.cs is set as the following. routes.MapRoute(
name: "Default",
url: "{controller}/{action}/{id}",
defaults: new { controller = "Films", action = "List", id = UrlParameter.Optional }
);
We need to create a view so as to display film information; to do this we are going to take advantage of the layout pages in ASP.NET. A layout page contains standard content that can be incuded in multiple pages.
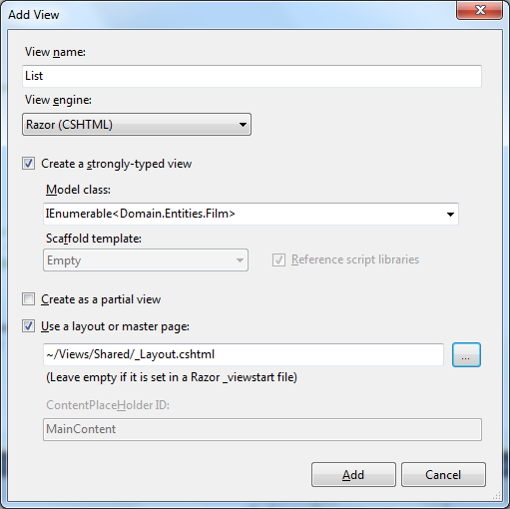
To create a view, as previously shown in an earlier MVC tutorial, right click the action method in the FilmsController called List() and then select Add View.
Click the check-box Create a strongly-typed view and use this as the Model Class IEnumerable and as the layout page using the dialog button select Views/Shared/_Layout.cshtml.
For the view called Lists use this Razor implementation. This view is bound to a list of films whether this is from a dummy repository or an SQL database. The section starting @foreach will iterate through the list of bound films and will display their information starting with the title, then the blurb and finally the rental price. @model IEnumerable
@{
ViewBag.Title = "List of films";
Layout = "~/Views/Shared/_Layout.cshtml";
}
@foreach(var film in Model) {
<div class="item">
<h4>@film.Title</h4>
<p>Blurb: @film.Blurb</p>
<p>Rental price: @film.RentalPrice.ToString("c")</p>
</div>
}
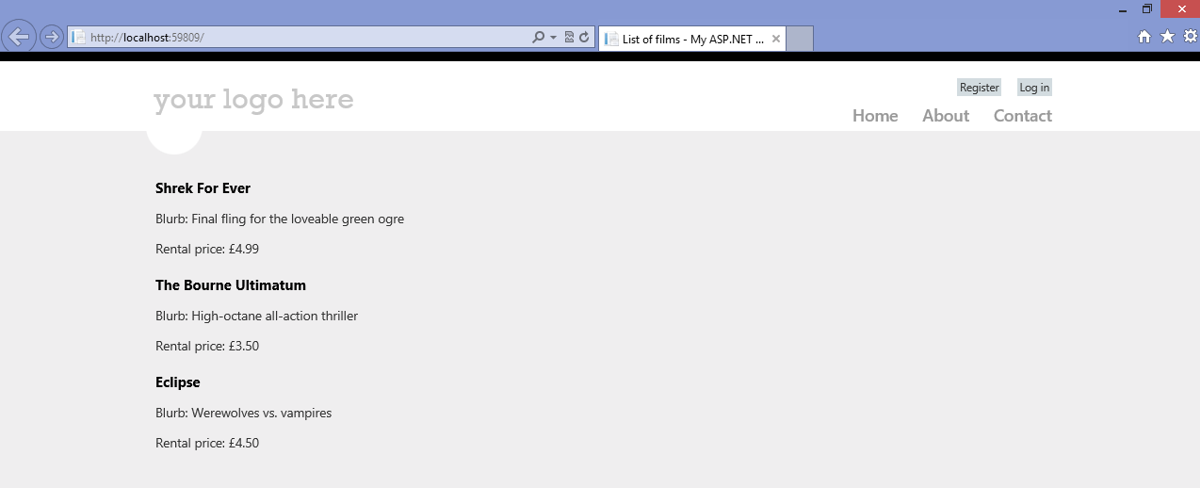
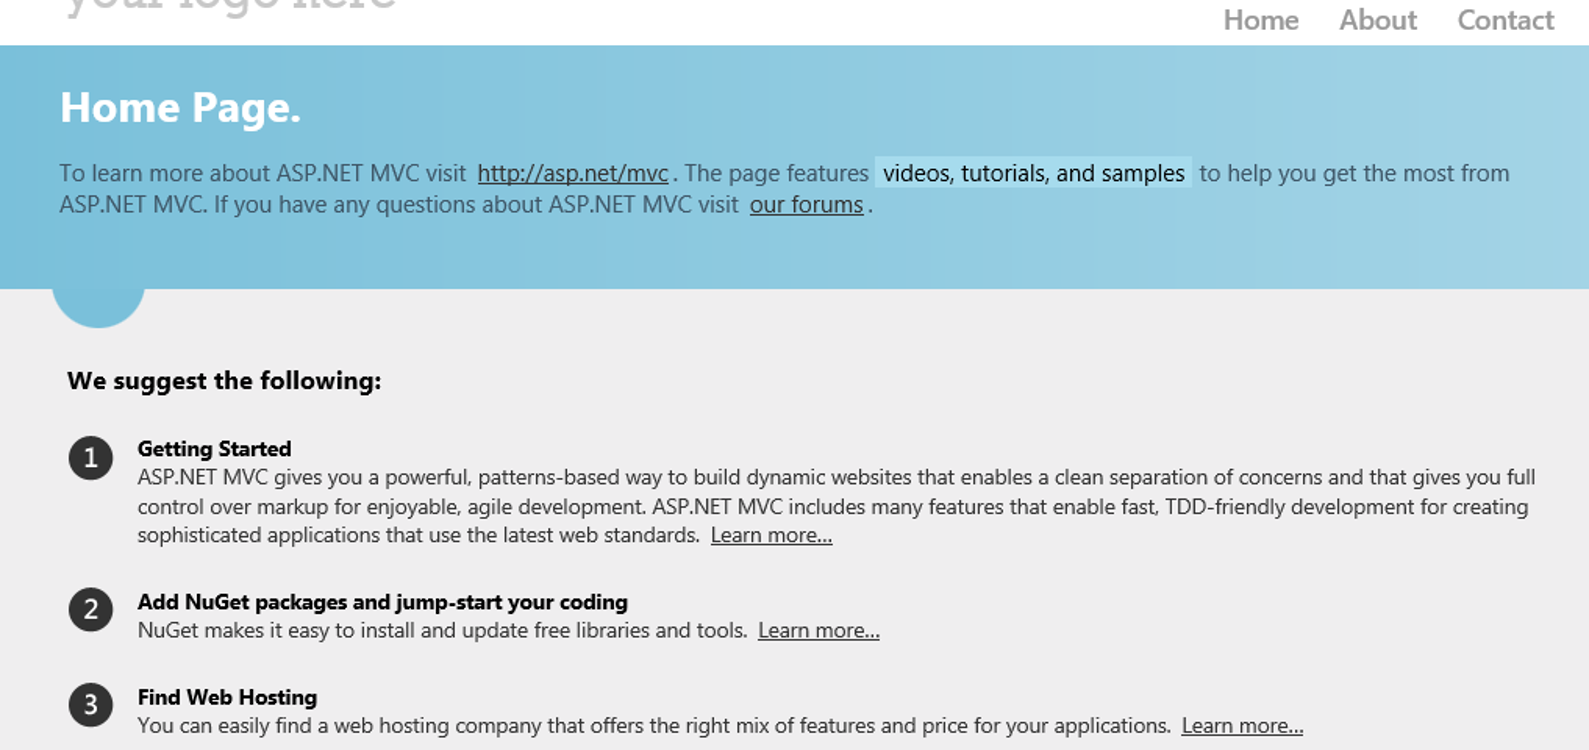
Now we are able to run the application and the movies including their details should be displayed.
Lab 4: Interacting with a Database
Lab 4: Interacting with a Database
To enhance the application we are now going to use a “real repository” that connects to a database. The database is called FilmsRUs. Click here to download a script. Then unzip and run the script in SQL Server to create the database, including its data.
There are many ways to access the database; we are going to use the popular entity framework (EF) API.
There are also a few strategies available in using EF, we are going to use the code-first approach.
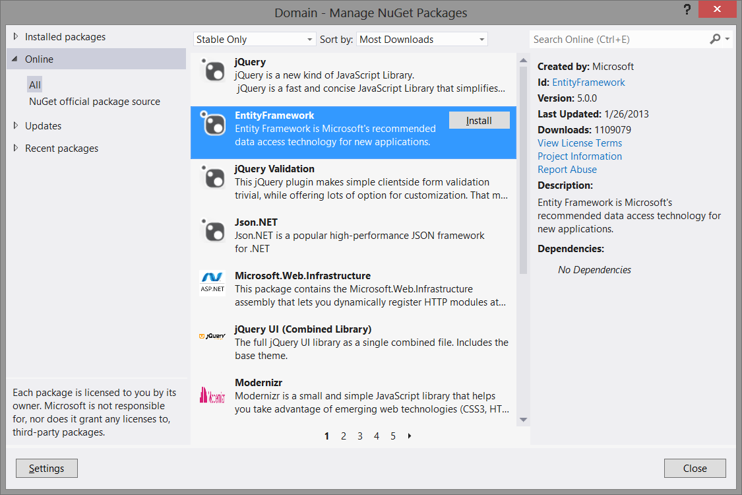
The first step is to install EF 5 in the domain project – see above.
In Solution Explorer, right click references and select NuGet Packages.
Select on-line in the left-hand tab section.
Then install Entity Framework.
In entity framework you must define a data context class, this defines which entity sets are included in the data model. To allow us to do this we are going to use DbContext class which represents an individual unit of work
Create a class that inherits from DbContext called FilmsRUsContext in the Repositories folder. using System.Data.Entity;
using Domain.Entities;
namespace Domain.Repositories
{
public class FilmsRUsContext : DbContext
{
public DbSet Films { get; set; }
public FilmsRUsContext(string connectionString)
: base(connectionString)
{}
}
}
Now we need to implement a real repository, this will connect to the FilmsRUs database and return data to the SqlFilmsRepository. This is held in the Repositories folder. using Domain.Entities;
using System.Data.Entity;
namespace Domain.Repositories
{
public class SqlFilmsRepository : IFilmsRepository
{
private DbSet films;
public SqlFilmsRepository(string connectionString)
{
films = (new FilmsRUsContext(connectionString)).Films;
}
public IList Films
{
get { return films.ToList(); }
}
}
}
We now need to enhance FilmsController to use the real repository. This is done in the controller’s constructor. using Domain.Repositories;
namespace FilmsRUsOnline.Controllers
{
public class FilmsController : Controller
{
private IFilmsRepository filmsRepository;
public FilmsController()
{
string connStr = @"Server=.\SQLEXPRESS;Database=FilmsRUs;Trusted_Connection=yes;";
filmsRepository = new SqlFilmsRepository(connStr);
}
public ViewResult List()
{
return View(filmsRepository.Films);
}
}
}
You can now run the application and check to see what films are displayed.
Lab 5: Using Dependency Injection
Lab 5: Using Dependency Injection
Dependency Injection (DI) enables you to decouple application components from each other. We can easily change or inject objects when we require them. Using DI makes applications much easier to test and maintain.
Define constructor(s) that can be supplied a dependency object.
Use a DI container tool to provide a suitable dependency object.
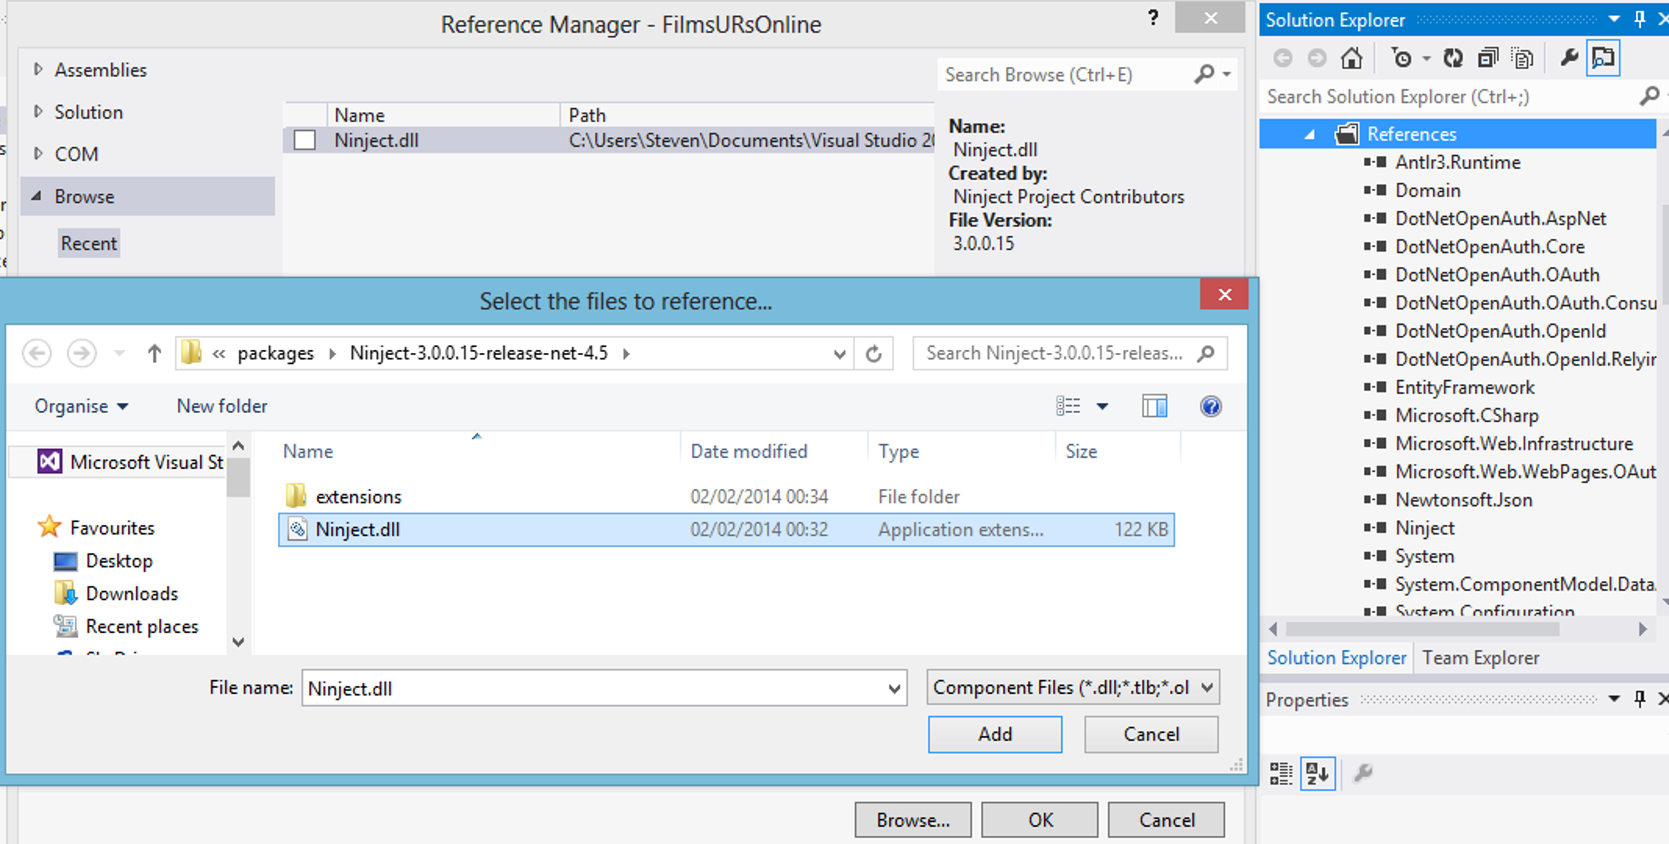
We need to download a DI Container for .NET; for this we are going to use Ninject.
Firstly Download from https://ninject.org/
Once Downloaded Unzip and put on your file system.
Right click FilmsRUsOnline and select add reference.
Choose Browse from the left column and then click the browse button to bring up the dialog.
Go to the place where you saved the folder and select the Ninject.ddl.
Our controllerclass needs a repository object; at the moment, our controller creates the repository manually.
DI offers a better solution, we can define a “controller factory” class, this creates a controller object, supplies it with a suitable repository object.
Create a folder called Plumbing in FilmsRUsOnline and add a new class called NinjectControllerFactory.
Use this to create the Dependency between the FilmRepository and the SqlFilmsRepository. using System;
using System.Collections.Generic;
using System.Linq;
using System.Web;
using Domain.Repositories;
using System.Configuration;
using System.Web.Mvc;
using System.Web.Routing;
using Ninject;
using Ninject.Modules;
public class NinjectControllerFactory : DefaultControllerFactory
{
private IKernel kernel = new StandardKernel(new FilmsRUsServices());
protected override IController GetControllerInstance(RequestContext context, Type controllerType)
{
if (controllerType == null) return null;
return (IController)kernel.Get(controllerType);
}
private class FilmsRUsServices : NinjectModule
{
public override void Load()
{
string connStr = ConfigurationManager.ConnectionStrings["FilmsRUsDatabase"].ConnectionString;
Bind<IFilmsRepository>()
.To<SqlFilmsRepository>()
.WithConstructorArgument("connectionString", connStr);
}
}
}
For this code to work make sure a connection string is defined in your web.config file. <add name="FilmsRUsDatabase"
connectionString="Server=.\SQLEXPRESS;Database=FilmsRUs;Trusted_Connection=yes;"
providerName="System.Data.SqlClient" />
Now we must tell ASP.NET MVC to use our controller factory.
To use the custom controller factory
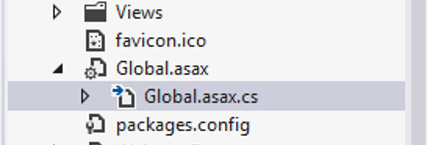
Open the Global.asax.cs file.In the ASP.NET MVC project.
Then modify Application_Start() event handler like so: using FilmsURsOnline.Plumbing;
protected void Application_Start()
{
AreaRegistration.RegisterAllAreas();
WebApiConfig.Register(GlobalConfiguration.Configuration);
FilterConfig.RegisterGlobalFilters(GlobalFilters.Filters);
RouteConfig.RegisterRoutes(RouteTable.Routes);
BundleConfig.RegisterBundles(BundleTable.Bundles);
AuthConfig.RegisterAuth();
// Tell ASP.NET MVC to use our controller factory.
ControllerBuilder.Current.SetControllerFactory(new NinjectControllerFactory());
}
Now we can re-factor the controller class to use dependency injection. public class FilmsController : Controller
{
private IFilmsRepository filmsRepository;
public FilmsController(IFilmsRepository filmsRepository)
{
this.filmsRepository = filmsRepository;
}
You can now run the application. It displays the information from the database. Can you explain why?
Lab 6: Unit Testing the Application
Lab 6: Unit Testing the Application
One of the key benefits of ASP.NET MVC is that it facilitates easy unit testing. We can then apply Test Driven Development (TDD)- this means we define a test first to specify the outcome for a new behaviour. Then implement functionality so that the test is passed.
We are going to create a simple unit-test that checks to see if the views have been made and are accessible. A more in depth look into unit tests will be in a later tutorial in this course.
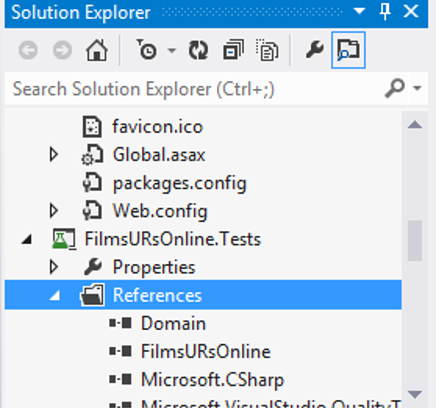
Go to the project that we created at the start of the application called FilmsRUsOnline.Tests.
Under the References make sure that both Domain and FilmRUsOnline assemblies are included.
In the Controllers folder open HomeControllerTest.cs and change as follows. using FilmsURsOnline;
using FilmsURsOnline.Controllers;
using Domain.Repositories;
using Domain.Entities;
[TestClass]
public class HomeControllerTest
{
private IFilmsRepository filmsRepository;
[TestMethod]
public void Index()
{
// Arrange
FilmsController controller = new FilmsController(filmsRepository);
// Act
ViewResult result = controller.Index() as ViewResult;
// Assert
Assert.IsNotNull(result);
}
[TestMethod]
public void About()
{
// Arrange
FilmsController controller = new FilmsController(filmsRepository);
// Act
ViewResult result = controller.Index() as ViewResult;
// Assert
Assert.IsNotNull(result);
}
[TestMethod]
public void Contact()
{
// Arrange
FilmsController controller = new FilmsController(filmsRepository);
// Act
ViewResult result = controller.Contact() as ViewResult;
// Assert
Assert.IsNotNull(result);
}
}
The code above will check to make sure the views are not referring to a null reference; hence not been made.
To run the tests select:
Test on the main navigation bar.
Then select Run.
Finally select All Tests.
You will see that all three test have failed, this is because we need to add the action methods to the FilmController. [HttpGet]
public ActionResult About()
{
return View();
}
[HttpGet]
public ActionResult Contact()
{
return View();
}
[HttpGet]
public ActionResult Index()
{
return View();
}
Use the Layout pages found under the folder Films.
You can now run the tests and will receive passes as the views have been made.
As an extra in a later tutorial we are going to add a limit to the items on a page. This feature will be implemented using TDD public class FilmsController : Controller
{
private IFilmsRepository filmsRepository;
public int PageSize = 3;
public FilmsController(IFilmsRepository filmsRepository)
{
this.filmsRepository = filmsRepository;
}
public ViewResult List(int pageNumber = 1)
{
return View(filmsRepository.Films
.Skip((pageNumber - 1) * PageSize)
.Take(PageSize)
.ToList());
}
}
We will explore TDD more in that later tutorial. We will add features but check the process as we go with unit tests.
Well done. You have completed the tutorial in the MVC4 course. The next tutorial is
If you liked this post, please comment with your suggestions to help others.
If you would like to see more content like this in the future, please fill-in our quick survey.
Manage cookie consent
You can view this website without consenting to extra cookies. However you will need to accept the 'marketing' cookies to send messages via the contact forms & see any maps displayed on the site
Functional
Always active
Cookies necessary for the website to work.
Preferences
The technical storage or access is necessary for the legitimate purpose of storing preferences that are not requested by the subscriber or user.
Statistics
The technical storage or access that is used exclusively for statistical purposes.Cookies used to track user interaction on the site, which helps us to evaluate & improve the website.
Marketing: Forms & additional content (Marketing)
We need your permission to place ‘marketing’ cookies, so you are able to use the contact forms & see embedded content e.g. videos and maps. - - - - We have added protection to our contact forms to help prove that a human (rather than a spambot) is filling

If you would like to see more content like this in the future, please fill-in our quick survey.